
 Wooden surfaces are known for adding a warm elegance and character to a home or even an office. However, if used for many years, surfaces tend to get worn and disfigured, losing their radiance. The wood surface gets a longer life by reviving, and it does so when refinished with new paint, but painted wood requires a little more care than surfaces to be usual. Whether it is painting wooden furniture, doors, or cabinets, here is the most complete guide on how to get a perfect finish.
Step 1: Preparation of the Surface
The first step leading to smooth, flawless wood coating is preparation. Wooden surfaces, especially older types, usually have imperfections: there could be areas of rough patch-ups, scratches, or dirt accumulation. Begin by cleaning the wood properly with a mild detergent and water to clean out any dirt or grease. If it has multiple layers of old paint or varnish, gently sand down the area so that it is smooth. Sanding is very important because it aids the adhesion of the wood painting. After the surface becomes even, wipe it clean with a damp cloth to remove the dust created by sanding.
Step 2: Right Selection of Wood Coating
The type of wood coating used during the painting of wooden surfaces determines whether the outcome is permanent. Paints contain varieties of coatings and different finishes and durability. Water-based wood paints are commonly preferred as they dry fast, and do not harm the environment, and give smooth finishes. Oil-based paints give durable glossy finishes but dry slowly for their high smoking of painting.
Consider the paint finish of the coating that will best fit the project you’ll be undertaking. For busy places and very wet surfaces, like kitchen cabinets, a more durable, moisture-resistant coating is more appropriate. For furniture, especially decorative wooden pieces, a soft matte finish is very elegant.
Step 3: Wood Priming
Priming is an important step that usually people tend to forget when it comes to painting wood. A good primer develops an even surface for paint to adhere to, thus lasting longer. When you use a primer on bare wood or where there’s the likelihood of knots, your paint won’t soak into the wood or create stains after a while. While wood painting is more common than other surfaces, remember that a primer suitable for wood should be used. The primer must be compatible with the paint you are going to use.
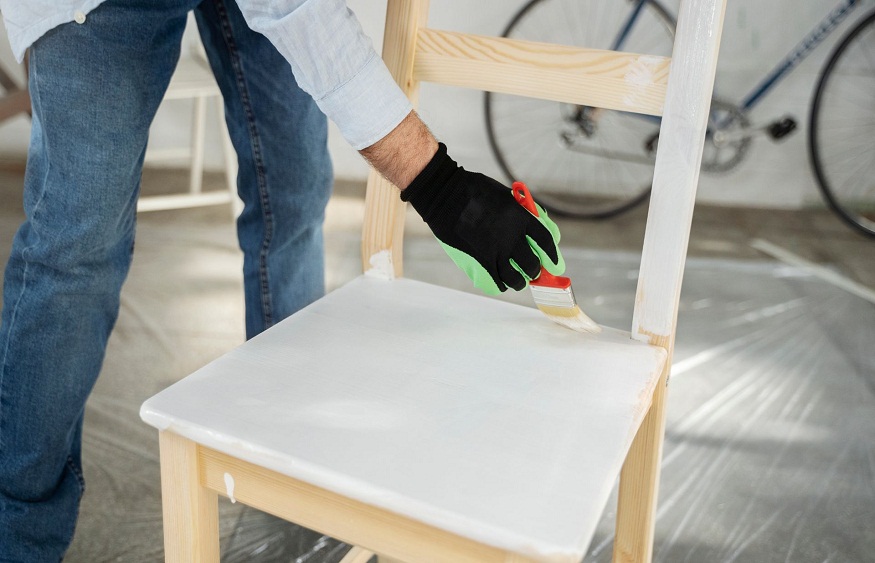
Step 4: Paint Well
Now that preparations and priming are done, it is now ready for painting. Most people commit the biggest mistake which is painting too much at a time. Start spreading thin coats of paint to allow each coat to dry fully before heaping on another one. This allows for a smoother professional finish free of drips and brush marks. Use a spray gun if you want a nice finish for bigger surfaces.
Step 5: Paint Cost per Square Foot
At all times, try to calculate your total cost before initiating any wood painting project. The painting cost per square foot will be based on several elements, ranging from the type of paint you will be using to the condition that the wood you intend to paint is in, and whether you hire professionals or do this by yourself. Remember these estimates so you don’t run out of budget for your project.
Step 6: Seal the Finish
Seal the wood after you have applied the final coat of paint to protect it from further wear and tear. A clear wood finish of polyurethane or varnish will both deepen the colour of the paint and provide a protective layer. Seal surfaces that have much moisture, heat, or will be used frequently. Apply the sealer in thin, even coats and let each layer dry thoroughly before using the surface.
Conclusion: Creating a Professional Finish
Wood painting may seem like a pretty daunting task. Proper techniques and products make a difference; however, preparing and priming the surface right will also be the make-or-break difference for perfect completion. Make sure to select the appropriate coat for the type of wood you are painting on and understand your painting cost per square foot so you know you’re on a budget while enjoying your refreshed space.